

A flat tire on the highway is annoying. A flat tire forty miles down a forest service road with no cell signal is a different problem entirely.
If you’re spending real time off-grid in your Geotrek sprinter van, knowing how to change a tire yourself isn’t optional, it’s part of the deal. Here’s a real walkthrough, step by step, the way we’d actually talk you through it in person.
Before You’re On the Side of the Road: What to Locate First
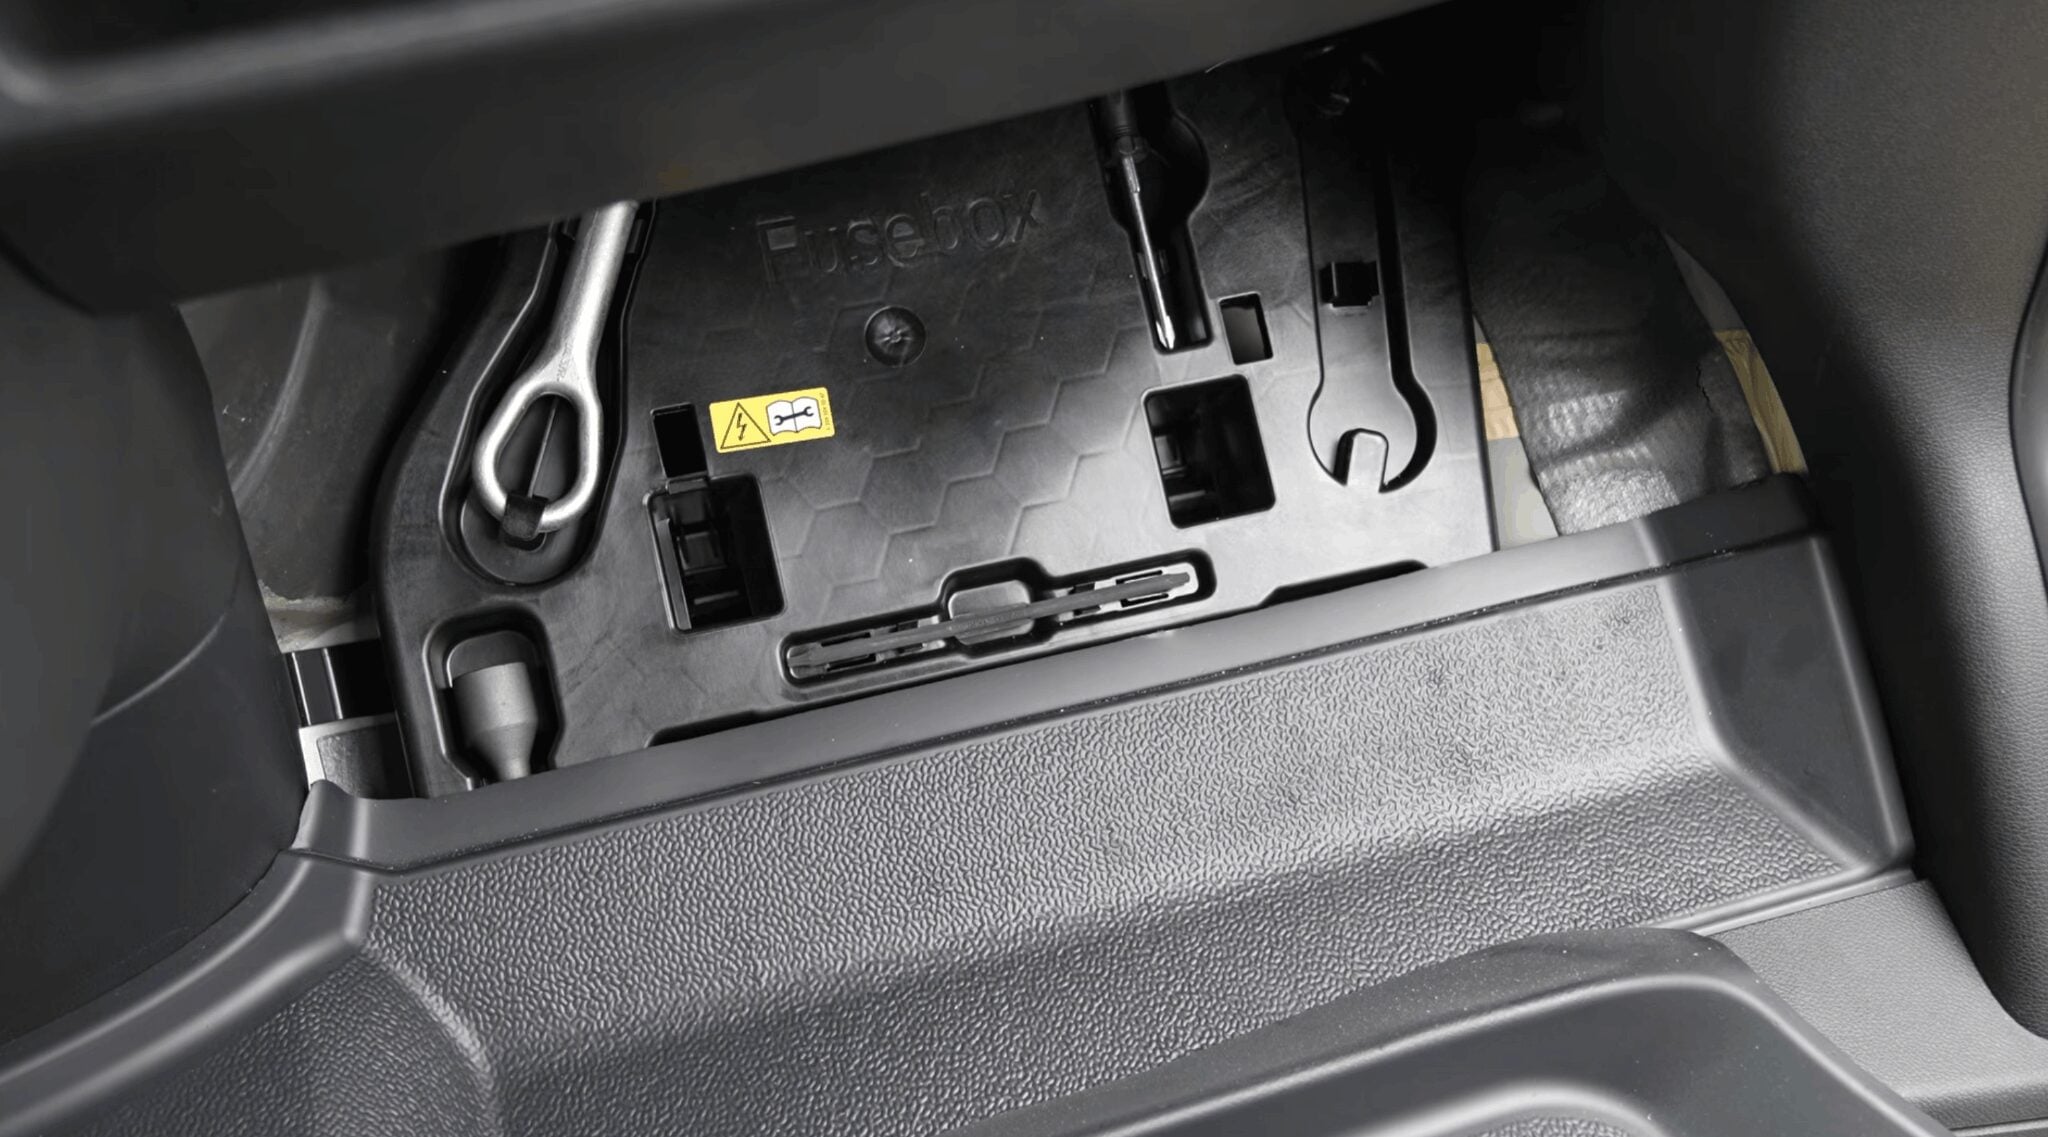
Know where your tools live before you need them. On your van, the toolkit lives under or behind the passenger seat, and it includes a key or flathead to unlock it, plus a bottle jack stored nearby. Find these now, not during an emergency.
Step 1: Locate Your Toolkit and Bottle Jack
Pop the toolkit using the included key or flathead. Pull the bottle jack out from its storage spot near the passenger seat. Take a second to check that everything is actually there before you’re counting on it on the side of a road.
Step 2: Find Your Sprinter Jack Points
Most Sprinter vans have four designated jack points, and you can also use the axle. A few things worth knowing:
- Never jack from the rear differential
- A front skid plate can be used as a jack point, but only if it was installed professionally
- If you’re not sure where your jack points are, check your owner’s manual or ask before you’re stuck needing the answer
How to Change Tire on a Sprinter: Step-By-Step
Step 3: How to Remove Spare Tire
Use a flathead to pry open the spare tire compartment, then push up to unlock it (using your knees for leverage works well here). The standard spare is lighter than people expect, it’s not a heavy lift once it’s free.
Step 4: Position the Jack Under the Frame
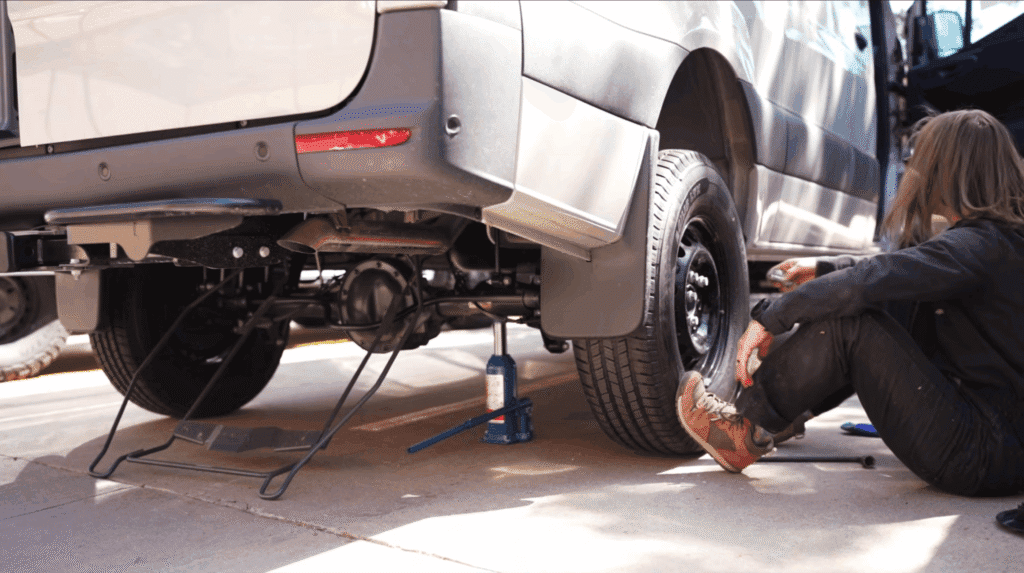
Angle the jack cradle so it hugs the bar underneath the van. Leave the jack down at this stage. You want to loosen the lug nuts before you lift the van, not after.
Step 5: Loosen the Lug Nuts in a Star Pattern
Standard lug nuts are 19mm. If you’ve upgraded to aftermarket wheels, they’re likely 17mm, which means a different socket size, so check this before you’re on the side of the road, not during.
Loosen the nuts in a star pattern, not a circle. Tightening or loosening in a circle puts uneven pressure on one side of the wheel. A star pattern keeps everything even.
Step 6: Lift the Van and Remove the Tire
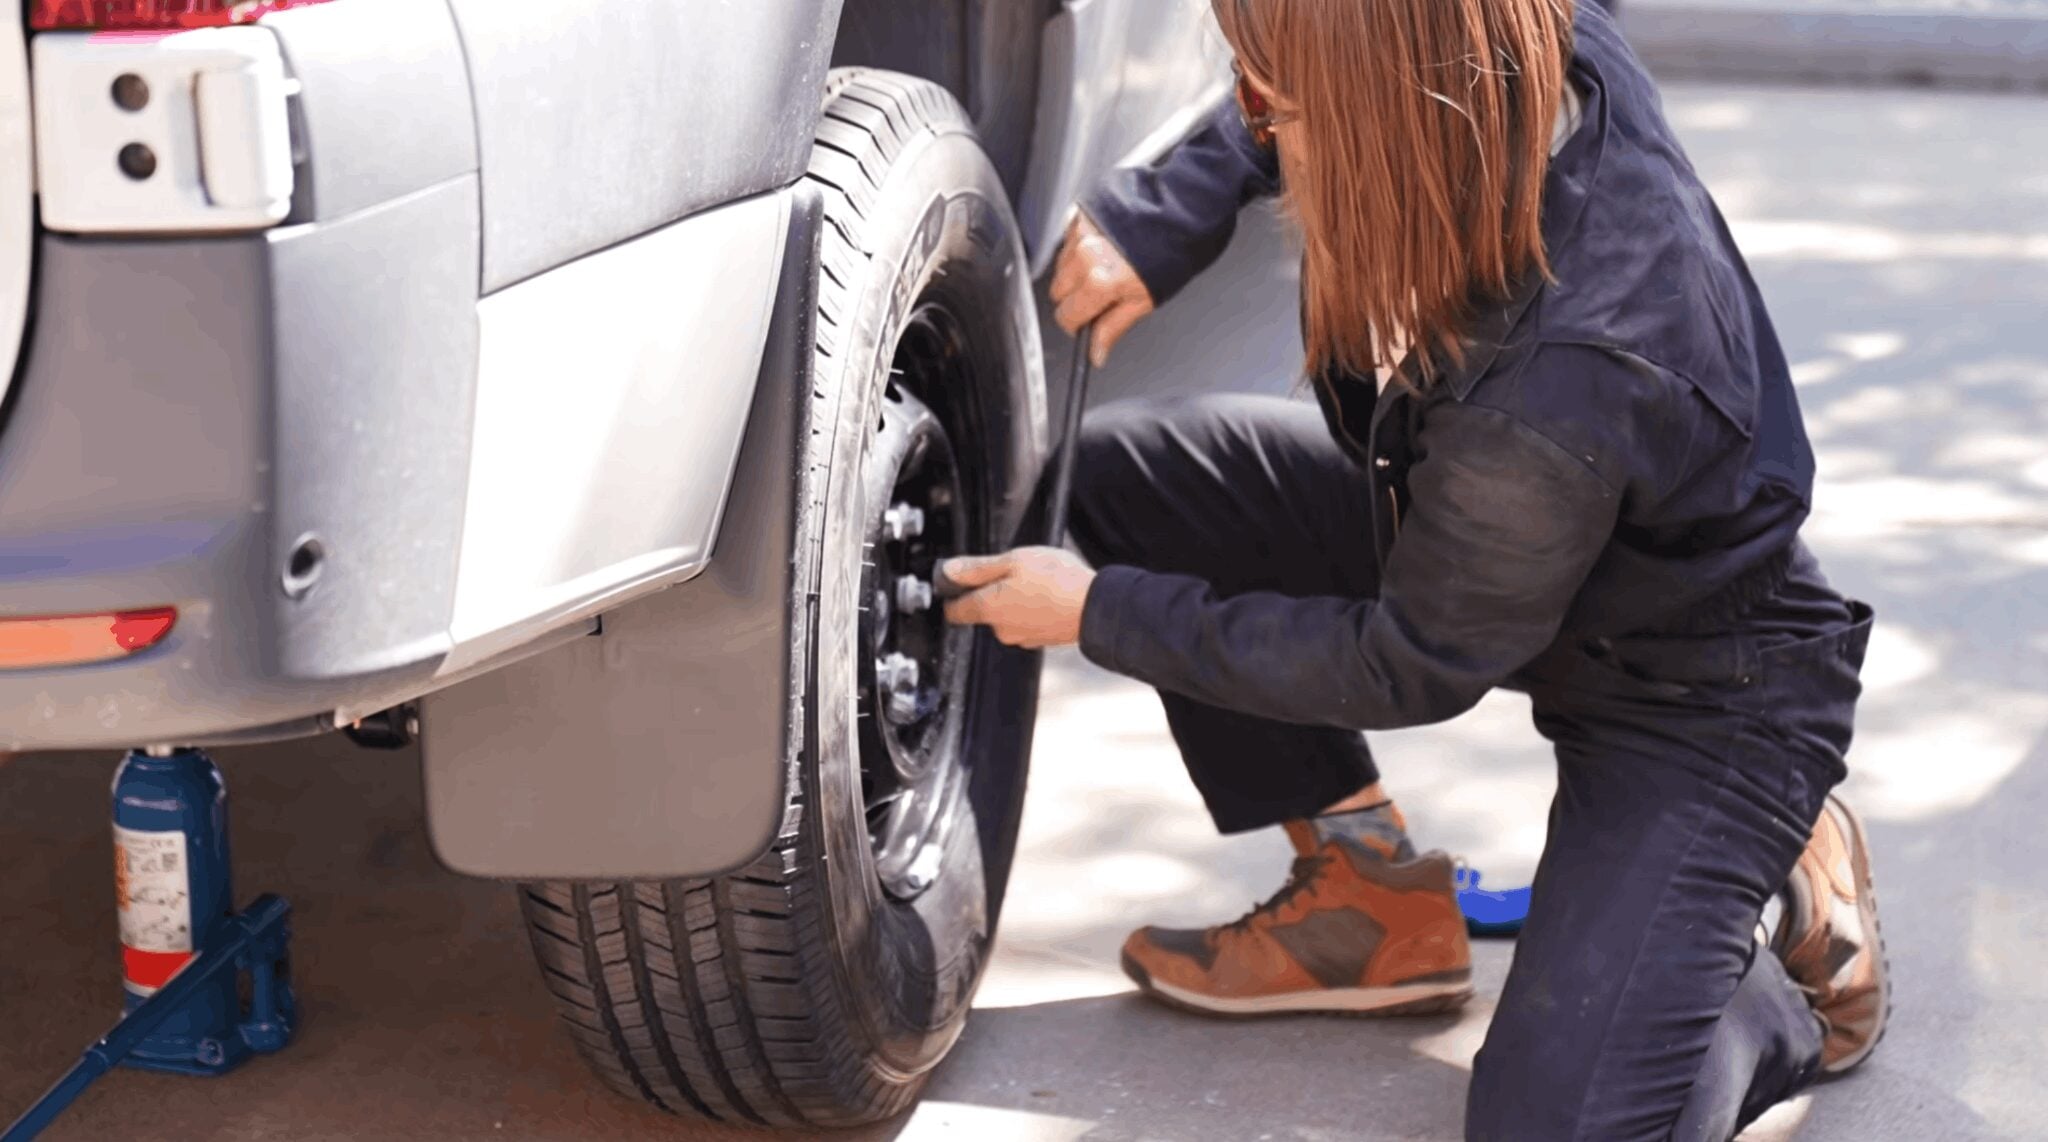
You don’t need to lift the van high. Just enough clearance to slide your fingers underneath the tire is enough to get it off and the new one back on. Once it’s elevated, the lug nuts should already be loose enough to remove by hand.
Sit down, brace with your feet, and slide the tire off. Set it aside, somewhere flat, not in sand, gravel, or dirt where the bolts could get lost or dirty.
Step 7: Mount the Spare Tire
Slide the spare into place. Hand-tighten the lug nuts in the same star pattern, evenly, before lowering the van.
Step 8: Lower the Van and Finish Tightening
Once the van is back down and there’s friction between the tire and the ground, finish tightening the lug nuts the rest of the way. Without a torque wrench, your body weight is your best tool here, brace yourself against the van and use your full weight to get them tight.
This isn’t a substitute for a proper torque check. Get to the next service stop and have the lug nuts checked and torqued correctly as soon as you reasonably can.
Step 9: Stow Your Tools and Flat Tire
Stow the bottle jack and tools back where they belong. If you’ve got a flat that needs repair, it can usually just go in the back of the van until you reach a shop.
Quick Reference: Lug Nuts, Jack Points and Torque
- Know your jack points and tool locations before you need them, not during
- Always use a star pattern when loosening or tightening lug nuts
- Confirm your lug nut size, 19mm standard, 17mm on most aftermarket wheels
- Hand-tight and body-weight-tight gets you to the next stop. A torque wrench gets you the rest of the way
Why This Matters When Off-Grid
Changing a tire isn’t difficult once you’ve done it, but it’s a lot easier the first time when someone’s actually walked you through it instead of leaving you with a manual and a flashlight.
Know where your tools are, know your jack points, and you’ll be back on the road in twenty minutes instead of waiting hours for help that might not come easily depending on where you are.


